Introduction
There are many different options available to brew beer. All have their advantages and disadvantages but all in the end make delicious beer. In this post I’ll be talking to you about these different types of brews and why you could wish to go for one over the other. Apologies about the long gap between my previous post and this one, having a relatively new baby at home along with some changes at work can sometimes make you put things by the wayside.
I’ll preface the rest of this post by saying there is no ‘right’ way to make beer except the way that helps you enjoy the hobby and end product. I’ll touch on my own personal experience with all of these methods and options but please bear in mind that this is only my experience and opinion that I’ve drawn based upon it. I’ll make no recommendations other than stating something objective about that option in relation to achieving a specific goal. For example, Hopped extract is cheap and fast whereas all grain can get expensive and takes longer so if you’re short on cash and want a quick brew, hopped extract may be your best choice and you may want to steer clear of all grain until you have more time and budget to brew.
History of home brew styles
Nowadays there are a great variety of products available to home brewers but it wasn’t always the case.
When the hobby of home brewing first took off I’d venture an educated guess that it was all grain or nothing. You would have had a large pot on your stove to boil in and a bucket/pail to ferment and that’s it. Finding grain and hops were difficult, let alone finding them fresh! To say there would have been a lack of consistency in your beer would have been an understatement.
Then came the advent of easily accessible home brew stores. All of a sudden you had access to proper equipment, fresher ingredients and a little advice to go along with it.
Something that was happening in the professional brewing world at this same time was the introduction of malt extract. Basically a brewer would make wort and evaporate off some or almost all of the water. The reasons for this were varied but one notable benefit for breweries such as Guinness (that were struggling with shelf life but wanted to expand to wider areas of the world) was that they could brew an extract of the darker and more essential to flavour/mouthfeel components of the brew and export that, allowing breweries (for a subcontracting fee) to brew licensed Guinness at locations closer to their market. Guinness drinkers didn’t notice a difference but the overseas drinkers had a marked improvement in freshness and quality.
Not long after this, these products became available to home brewers and brews got quicker, easier and more predictable.
Nowadays also, it’s not only the ingredients available to home brewers that are better, but some of the equipment available rivals that of commercial breweries. Some equipment has moved far beyond a pot to boil in and a pail to ferment in. Although there is nothing wrong with using these.
Methods of modern brewing
They options we now have as brewers are vast, this section aims to explain the most common methods of brewing used by home brewers today. While some of these methods are very tried and tested, they do not denote the ONLY ways in which you can brew. Different combinations and experiments are encouraged, this way you can find the method that truly works best for you.
Find the methods below in the order generally accepted as the least to the most involved.
Hopped Malt Extract

Equipment Needed:
– Pot – To boil water and dissolve the sugar/extract.
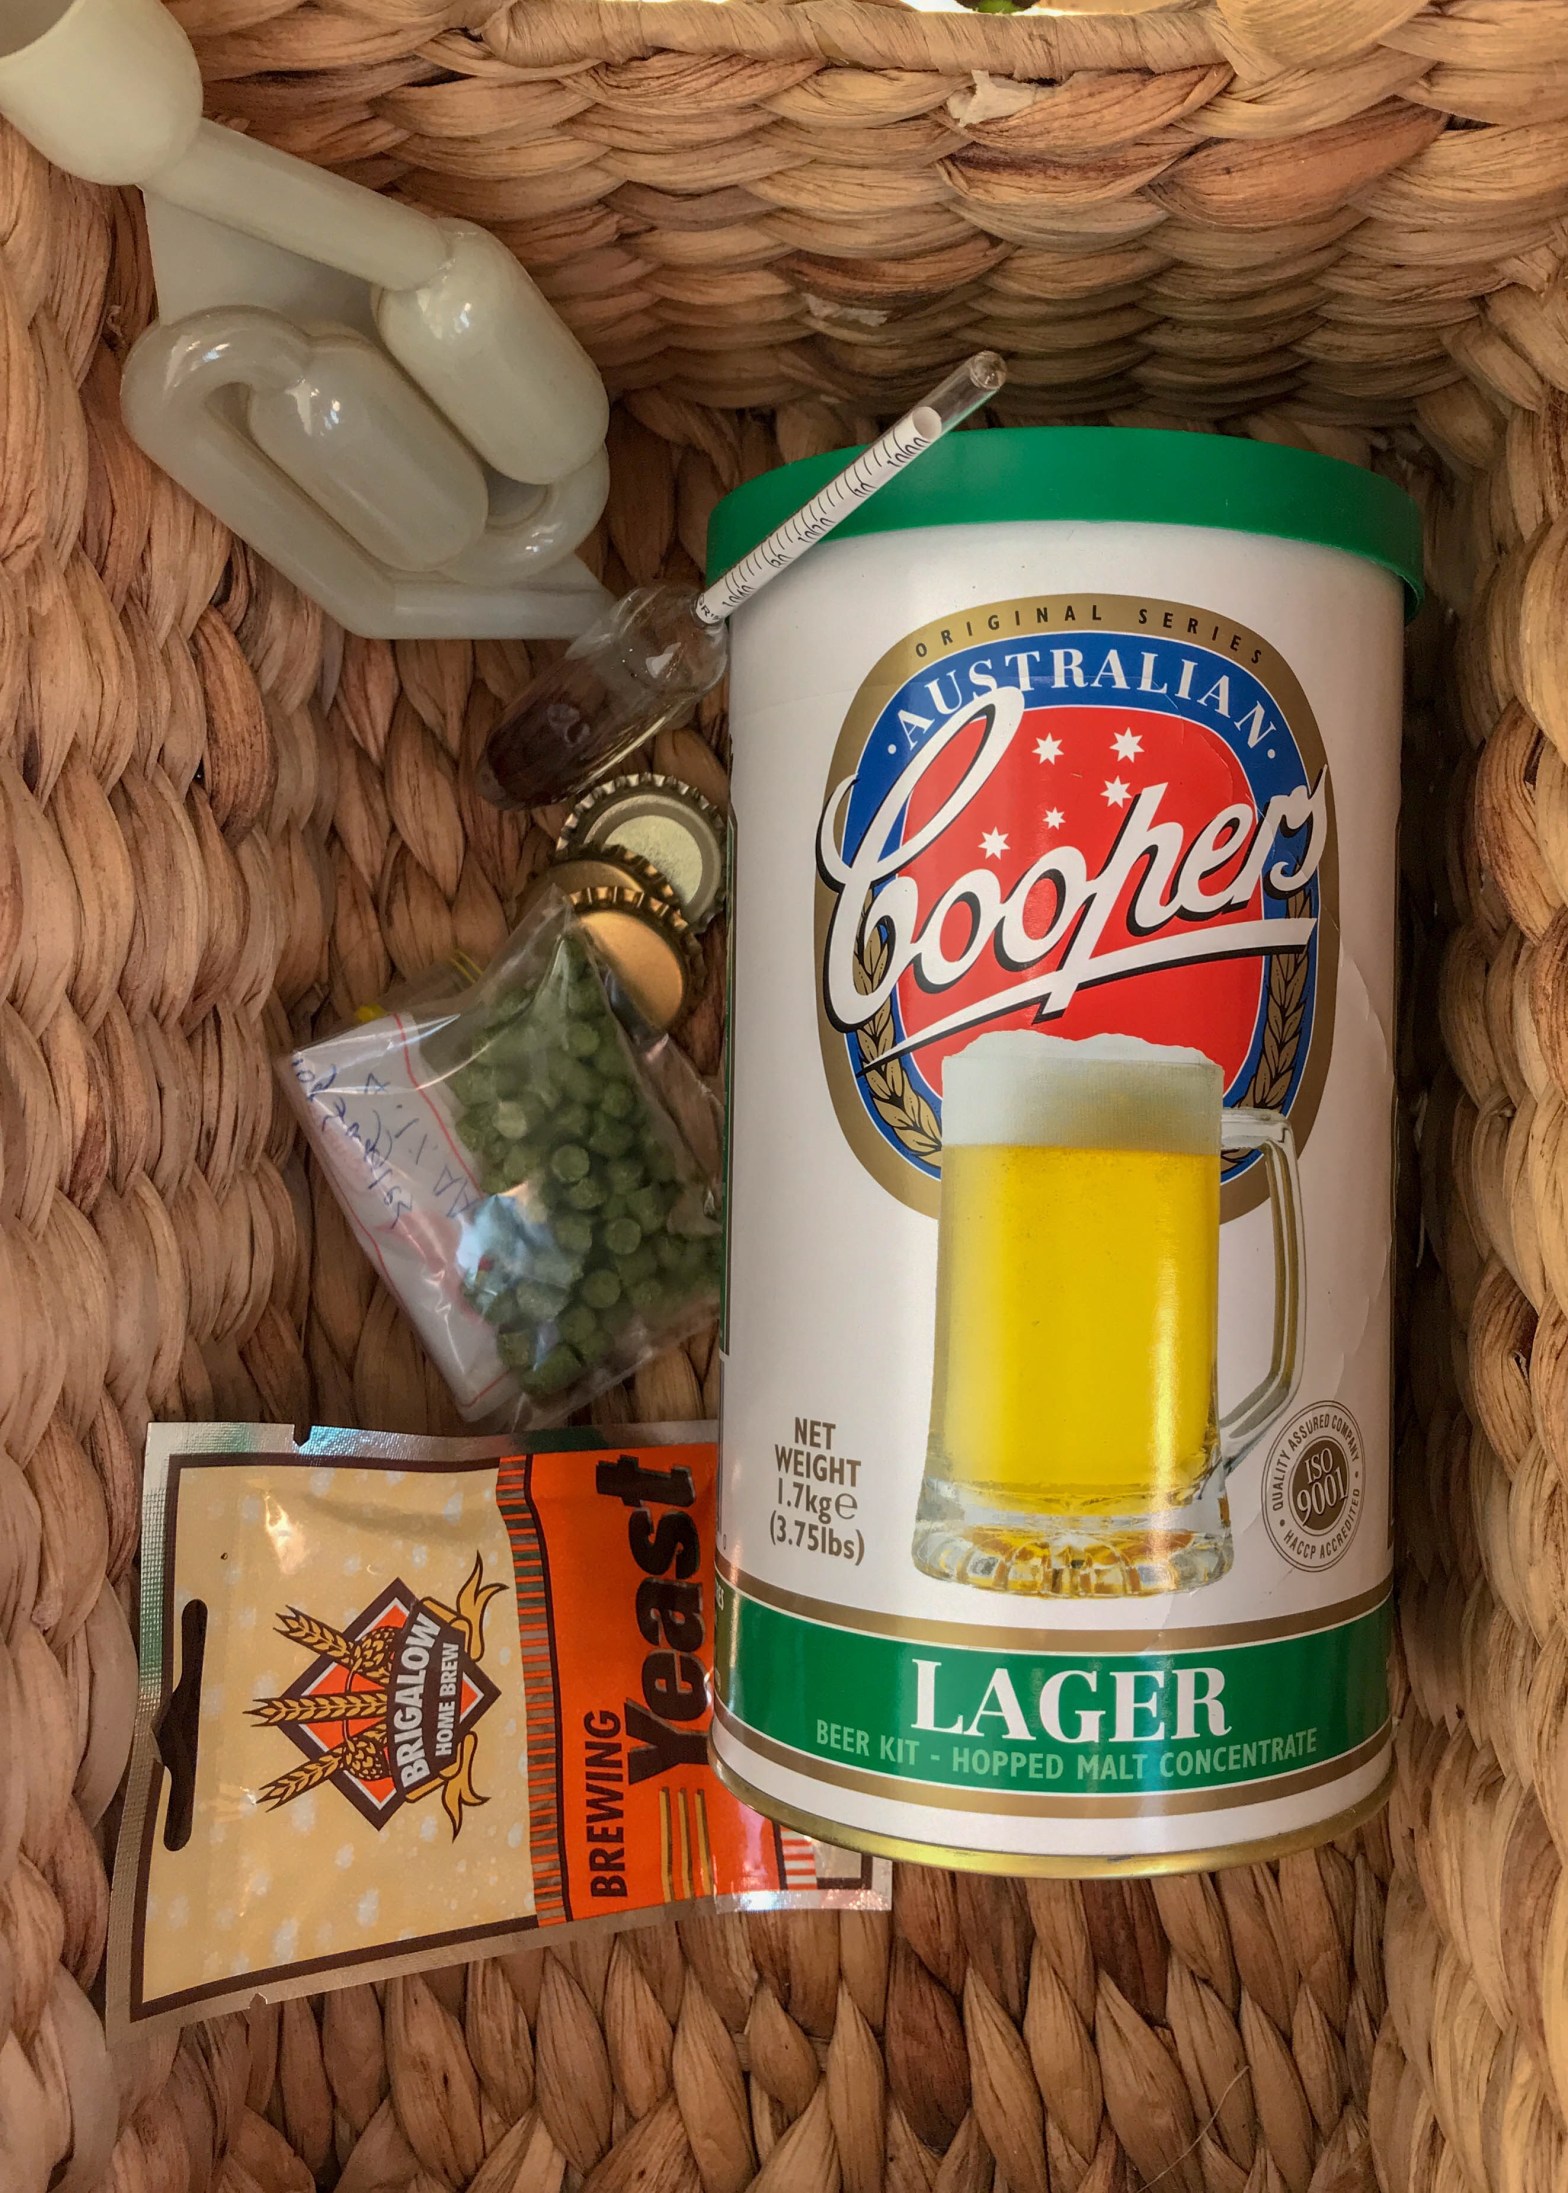
– Fermenting vessel – A closed container with an airlock (plastic object in top left corner of picture) and tap to bottle from.
– Bottling wand – Stick with a gravity-fed tap that releases when it hits the bottom of a bottle. This allows bottles to fill from the bottom up rather than pouring in from the top to keep as little contact with oxygen as possible as this can spoil the beer.
– Bottles – Many places sell plastic bottles with screw caps but I find these to not hold pressure as well as glass. You can save the bottles from any beers you buy and reuse these. Use brown bottles as much as possible as light also spoils beer.
Approximate cost per batch: $10-20
Bottles per batch: ~60-65
For many getting into the hobby, this is an easy and common way to start up. It comes as a can, usually with yeast attached on top of the lid and all you have to do is add 1kg of sugar and 23L of water and you have your beer.
Hopped Malt Extract is essentially wort that has had most of the water evaporated off it. Leaving just the sugars and hop oils/acids. The brewer mashes the grains, boils the wort and adds hops for you. Essentially allowing you to just rehydrate, add extra sugar to achieve your desired finishing ABV (Alcohol By Volume, in percent) and ferment.
This is the easiest, quickest and cheapest beer you’ll probably ever make. The whole process takes an hour (less if you actually try to) and ends up costing about $20 MAX for around 60 bottles, it’s pretty impressive.
Why doesn’t everyone brew like this? I think it could be boiled down (a-thankyou!) to 3 reasons:
– Control: With this type of brew you have very little control over the flavour of the finished beer. Mashing temps, boil schedules, grain/hop bill choices are all made for you so it’s easy but lacks the control over the recipes that many home brewers like.
– Options: Because of this lack of control, you also are left with only the options of what the brewer chose to create. Want an India Pale Ale (IPA) made with Fuggles and Tettnanger hops? Bad luck (also, eww). Love a black lager but have no kits that will make it? Too bad. From this point you have to expand to something that allows you more options but will also tie in to…
– Process: If you, like me, love and are fascinated by the process of brewing then hopped extract probably isn’t going to cut it for you. Sure it has its own process but it is essentially an advanced course on cleanliness and rehydrating things. At what point does it become ‘brewing’? I asked myself this question and found hopped extract to not point to the answer for me. It was my roots and where I started but I soon moved on to.
Malt Extract
Equipment required:
– All equipment listed in previous section.
– A Hop Spider/Bag: to hold hops in during the boil so they don’t make it into your finished beer.
Approximate cost per batch: $20-25
Bottles per batch: ~55-60
The next step up is un-hopped malt extract or just ‘extract’. This can be the very same product as above except it misses out the hops in the boil which allows you to add them yourself, controlling part of the process and giving you a few more options. You can finally have that Fuggles/Tettnanger IPA!
Another common step taken amongst extract brewers is adding steeping grains. The extract process, by which I mean when the extract itself is evaporated down from wort, also evaporates some proteins from the wort that help some flavour and mouthfeel characteristics. Steeping grains allows some of these to be re-introduced, improving the body of the beer and adding some flavour/colour characteristics as well. Now that Black Lager can be yours too!
This is the next logical step after hopped extract as it adds back in just one part of the brewing process. This is a step I made after a time using hopped extract but you don’t have to make the same leap, you could jump straight on into something like Partial Mashing.
Partial Mash
Equipment Required:
– All equipment listed in previous section.
– A pot/cooler to Mash in, consider this carefully as it must be able to hold a stable temperature to within +/- 1 degree C.
Approximate cost per batch: $20-30
Bottles per batch: ~55-60
Partial Mashing is the first step towards all grain brewing but can often be done on the same scale as extract brewing, meaning minimal to no extra equipment needed.
The main portion of the grist (combination of ingredients that will produce sugars in the final wort) is still malt extract but added are grains, mostly specialty grains (to add colour/flavour) with some base malt added in so some more sugars are added in. This grain mixture is mashed. Mashing is when the grains are mixed with water and held at a specific temperature for an amount of time to allow the enzymes in the grain to convert the starches into sugars.
After the mash more water may be added if it wasn’t added during sparging. Sparging is the process of rinsing the mashed grains to extract the last of the sugars and increase the volume of wort to go on to boiling. After this the wort is boiled and hops are added, exactly the same steps as with extract brewing.
To me this step is necessary if you want to experiment with the all grain process without getting into the expense of buying additional equipment. Other than that it seems like you’re not quite doing extract or all grain but having a foot in both camps and doing a fair bit more work for not much more in terms of control, options or a difference to the finished beer. I did one batch to test my process and see if my current equipment could handle mashing effectively. It could so I immediately moved on to all grain brewing.
All Grain
Equipment required:
– A Mash Tun: This can be a pot, large cooler or specialised unit made from the ground up to mash in. Basically what you need here is something you can use to hold a large amount of grain and water in a very narrow temperature range (+/- 1 degree C) for an hour or so. A cooler works well as it’s designed to hold the contents at temperature anyway and it works as well for keeping things hot as it does cold.
– A ‘Hot Liquor Tank’: can be a hot water urn, another pot/tun or anything that can hold a large amount of hot water (15L or so usually)
– A Boil Kettle: Make sure this is compatible with your heat source (can stand the heat of a strong flame or works on induction etc depending on your heating method). It should ideally hold at least 30L comfortably to allow for the wort to boil down to 20L or so over an hour.
– A Pump & Tubing: To move beer between vessels during the mashing and boiling processes.
Approximate cost per batch: $25-60
Bottles per batch: ~50-55
All grain brewing is what it sounds like, it starts with raw ingredients of Barley, Hops, Yeast and Water. You must select the grains you need (either from a recipe you made up or a kit recommended by the home brew store), crush the grains (most stores will do this for you) mash the crushed grains to extract the sugars, boil the wort, add hops, ferment and package.
This is by far the most involved way to brew. You don’t necessarily have to know much more to brew this way than with extract but you do have to pay close attention to things like time/temperature. It also generally means you need to buy some more equipment as listed at the top of this section.
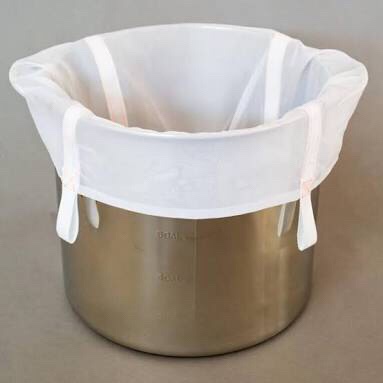
Brew In A Bag (BIAB)
This is a method of all grain brewing that lets you do away with the 3 vessels required for traditional all grain brewing to use either just a pot and mash tun or even just a pot. The only extra piece of equipment you need is a reinforced mesh bag to hold grain. Click image below to head to brewinabag.com and see their range of products to fit your equipment.
This method allows you to brew with your full boil volume and extract as much from the grains as possible. I started using this method and still use a form of it today, only in a Grainfather, which is a piece of equipment designed to automate the process to a certain extent. You put water in, it heats it to within a degree of your specified mash temp and you put the grains in a basket, a pump then recirculates water over the grains while a heating element at the bottom keeps it at the right temperature. When the mash is finished, you remove the grains and start the boiling process, the app then reminds you of your hop addition schedule according to a recipe. For me, being the process, numbers, and accuracy-driven person that I am it is perfect but it’s a big expense and not for everyone.
I hope you’ve enjoyed this article and gained some information from it that will allow you to choose a method that works for you. In upcoming posts I’ll go through the process for each of these in a bit more detail to help you get going with your first brew!
Bye for now,
Sean
Like us on Facebook and Instagram or get in touch on Reddit.
